Salesforce
Interop Events
The Salesforce Adapter allows you to trigger Interop events in Salesforce from other interop-enabled apps. Use the TriggerRegisterInteropListenerEvent event to register Interop methods in Salesforce and the HandleInteropEvent to handle method invocations.
In short, to trigger an Interop event, you must create a Salesforce Component and a Controller for it that will check the io.Connect connection and register an Interop method. After that, you must create another Component and a Controller for it that will handle method invocations from other interop-enabled apps.
Example
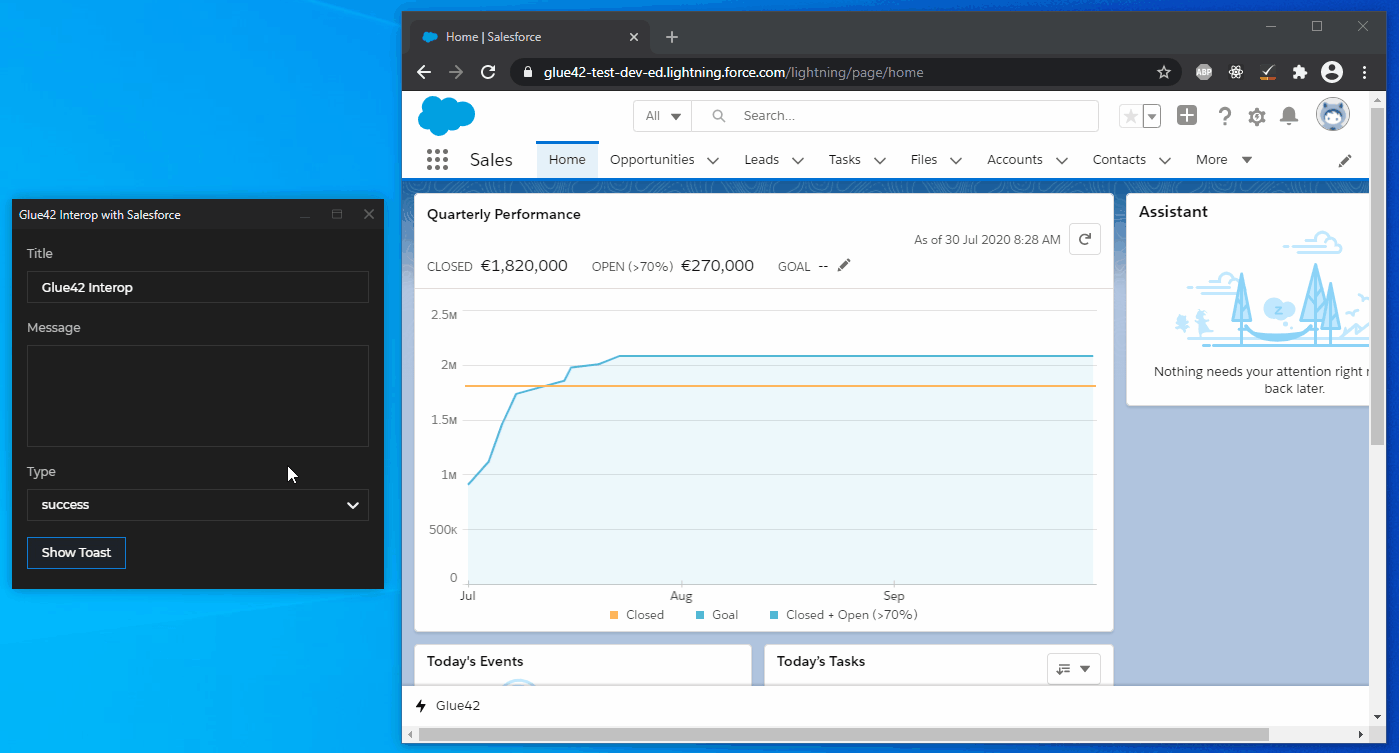
The example below demonstrates inbound interoperability from other interop-enabled apps to Salesforce. The Components for registering an Interop method and handling its invocation will be attached to the Sales Lightning app Home page. Another interop-enabled app will invoke the method and supply arguments for it. The example also shows how to check for the io.Connect connection status using the ConnectionStatusResponse event.
The registered Interop method will trigger a toast notification in Salesforce with title, text and type provided by the invoking app.
Method Registration
Custom Interop Event
⚠️ Note that this step demonstrates how to create and setup a custom Aura event that extends the embedded
e.Tick42:HandleInteropEventAura event. This step is necessary only if you are registering more than one Interop methods. In case you need to register a single Interop method, you can skip the custom Aura event creation.
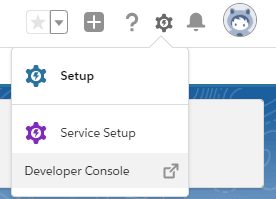
To create a custom Aura event, open the Salesforce Developer Console:
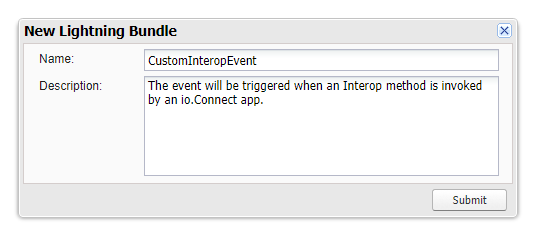
Go to File > New > Lightning Event. Add a name (e.g., "CustomInteropEvent") and a description for the event and click the "Submit" button:
Paste the following code in the newly opened EVT file and save it to create the event:
<aura:event
    type="APPLICATION"
    description="Event that will be triggered when an io.Connect app invokes an Interop method."
    access="global"
    extends="Tick42:HandleInteropEvent"
>
</aura:event>
Registration Component
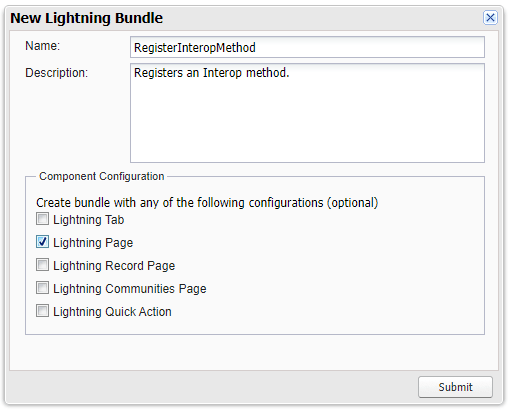
To create a custom Component, open the Salesforce Developer Console and go to File > New > Lightning Component. Add a name ("RegisterInteropMethod") and a description for the Component. Select the "Lightning Page" option in the "Component Configuration" group:
Click "Submit", paste the following code in the newly opened CMP file and save it to create the Component:
<aura:component implements="flexipage:availableForAllPageTypes" access="global">
    <aura:handler event="Tick42:ConnectionStatusResponse" action="{!c.registerInteropMethod}"/>
</aura:component>
The registerInteropMethod handler will be triggered when the ConnectionStatusResponse event fires.
Registration Controller
To create the Controller, select "CONTROLLER" from the right menu of the Developer Console and paste the following code in the newly opened JS file and save it:
({
    // Triggered when the `ConnectionStatusResponse` event fires.
    registerInteropMethod: function (component, event, helper) {
        // Check the connection status.
        const status = event.getParam("status");

        // Register the Interop method if there is connection to io.Connect.
        if (status) {
            // Get the `TriggerRegisterInteropListenerEvent` event.
            const appEvent = $A.get("e.Tick42:TriggerRegisterInteropListenerEvent");

            // Bind a Salesforce event to an Interop method.
            appEvent.setParams({
                // Provide an Interop method name.
                "method": "ShowToast",
                // Provide a Salesforce event name to be triggered.
                "eventName": "e.c:CustomInteropEvent"
                // Or you can use the embedded event, if you haven't created a custom one:
                // "eventName": "e.Tick42:HandleInteropEvent"
            });

            appEvent.fire();
        };
    }
})
Handling Invocations
Handling Component
Follow the steps in the previous section to create a new Component that will handle method invocations.
Paste the following code in the newly opened CMP file:
<aura:component implements="flexipage:availableForAllPageTypes" access="global">
    <!-- For value of `event`, fill in the proper event name with the proper namespace -
    e.g., if you haven't created a custom event, use the embedded event "Tick42:HandleInteropEvent". -->
    <aura:handler event="c:CustomInteropEvent" action="{!c.handleInvocation}"/>
</aura:component>
The handleInvocation handler will be triggered when the Interop method is invoked by other interop-enabled apps.
Handling Controller
To create the Controller, select "CONTROLLER" from the right menu of the Developer Console and paste the following code in the newly opened JavaScript file and save it:
({
    // Triggered when a `HandleInteropEvent` is fired.
    handleInvocation: function(component, event, helper) {
        // The invoking app provides the arguments for the method.
        const { title, message, type } = JSON.parse(event.getParam("args"));

        const toastEvent = $A.get("e.force:showToast");

        if (message && message !== "") {
            toastEvent.setParams({ title, message, type });
            toastEvent.fire();
        };
    }
})
Assigning the Components
Next, customize the Sales Lightning app Home page with the newly created Components.
Go to
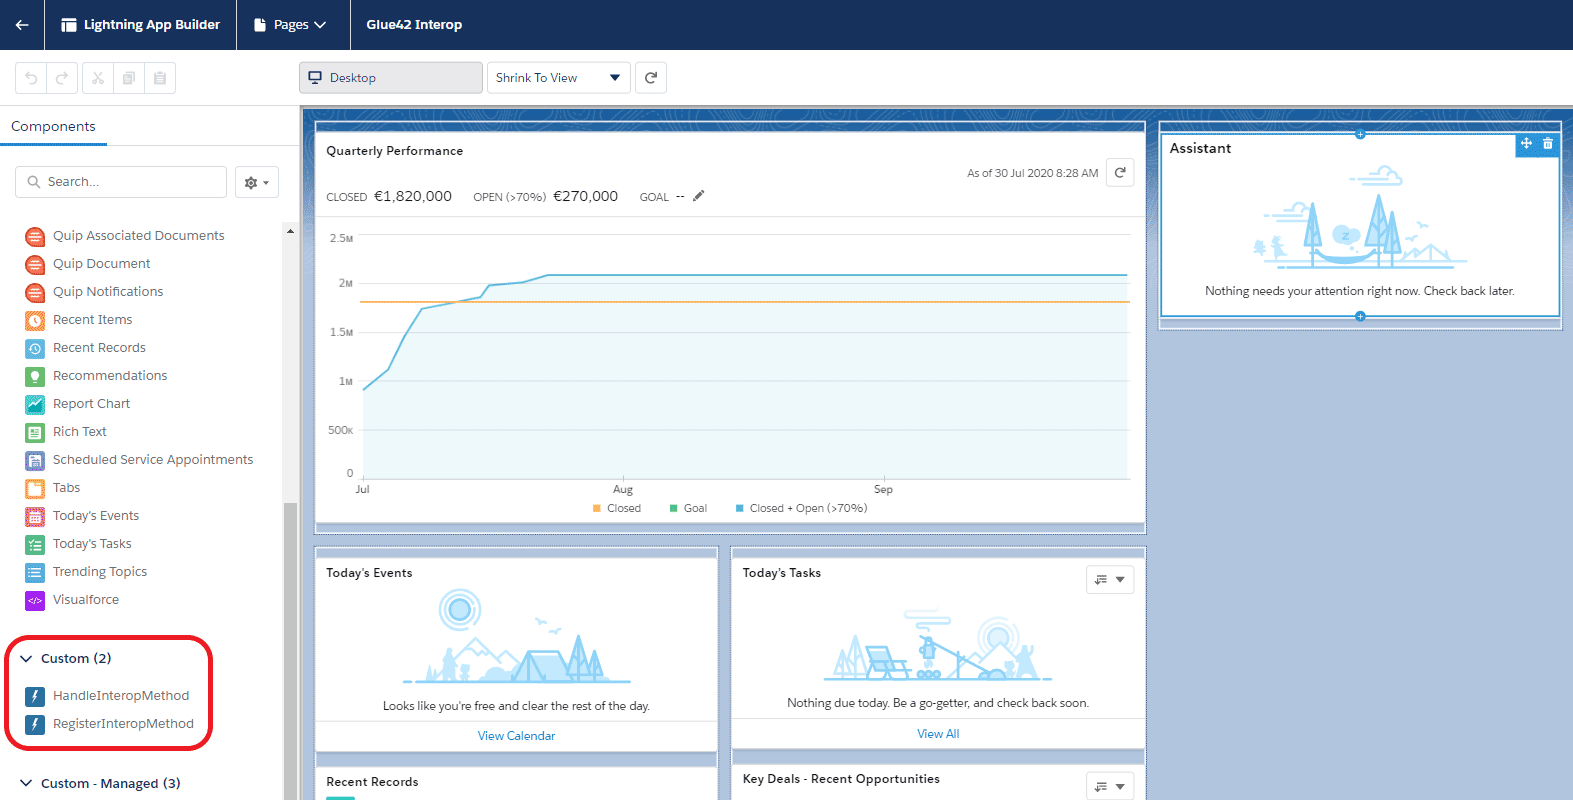
Setup > User Interface > Lightning App Builderand click the "New" button to start customizing the Home page. Choose "Home Page" and enter a page label on the next screen. Choose the "Clone Salesforce Default Page" tab and click the "Finish" button.Drag and drop the newly created custom components to the top of the page template:
- Click the "Save" button. When prompted, click the "Activate" button and on the next screen select "Assign as Org Default". Click the "Save" button to activate the customized page.
Now all interop-enabled apps will be able to invoke the "ShowToast" Interop method: