Launcher
Overview
The io.Connect embedded launcher is an app which acts as a central hub for managing interop-enabled apps, Layouts, Workspaces, search, notifications and various io.Connect Desktop settings. io.Connect Desktop comes with an embedded launcher - the io.Connect Launchpad.
Launchpad
Available since io.Connect Desktop 9.9
The io.Connect Launchpad is the default io.Connect launcher. It's an easily customizable web app that acts as a central hub for all io.Connect features - apps, Workspaces, Layouts, notifications, platform preferences, and more.
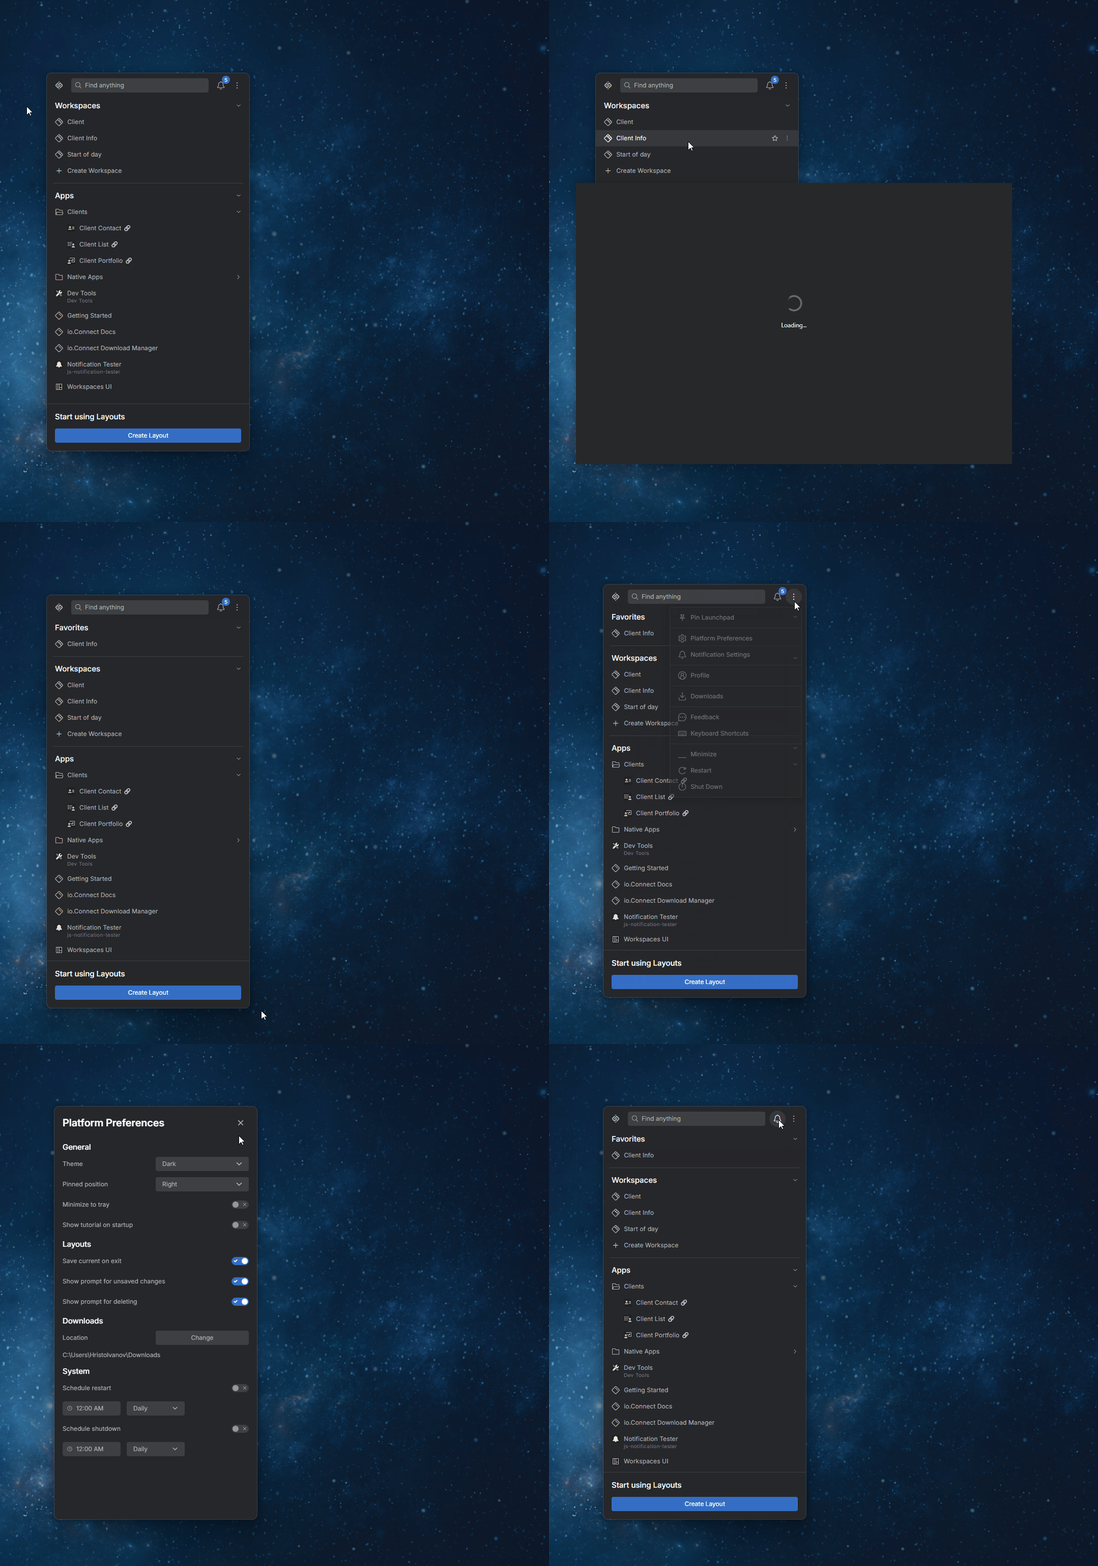
The Launchpad starts in expanded mode and contains conveniently placed sections with easy access to all available Workspaces, apps, and Layouts. At the top, you can find search bar that's not just a simple item filter, but a fully functional global search implemented using the search capabilities of the io.Connect framework.
The Launchpad provides quick access to the Notification Panel, the Download Manager, the Feedback Form, and contains a menu with various platform settings. It can be moved, minimized, and collapsed to a compact horizontal toolbar in order to save screen real estate. Users who prefer the Launchpad to be always available on the screen can pin the Launchpad to the left or the right side of their monitors.

Available since io.Connect Desktop 10.0
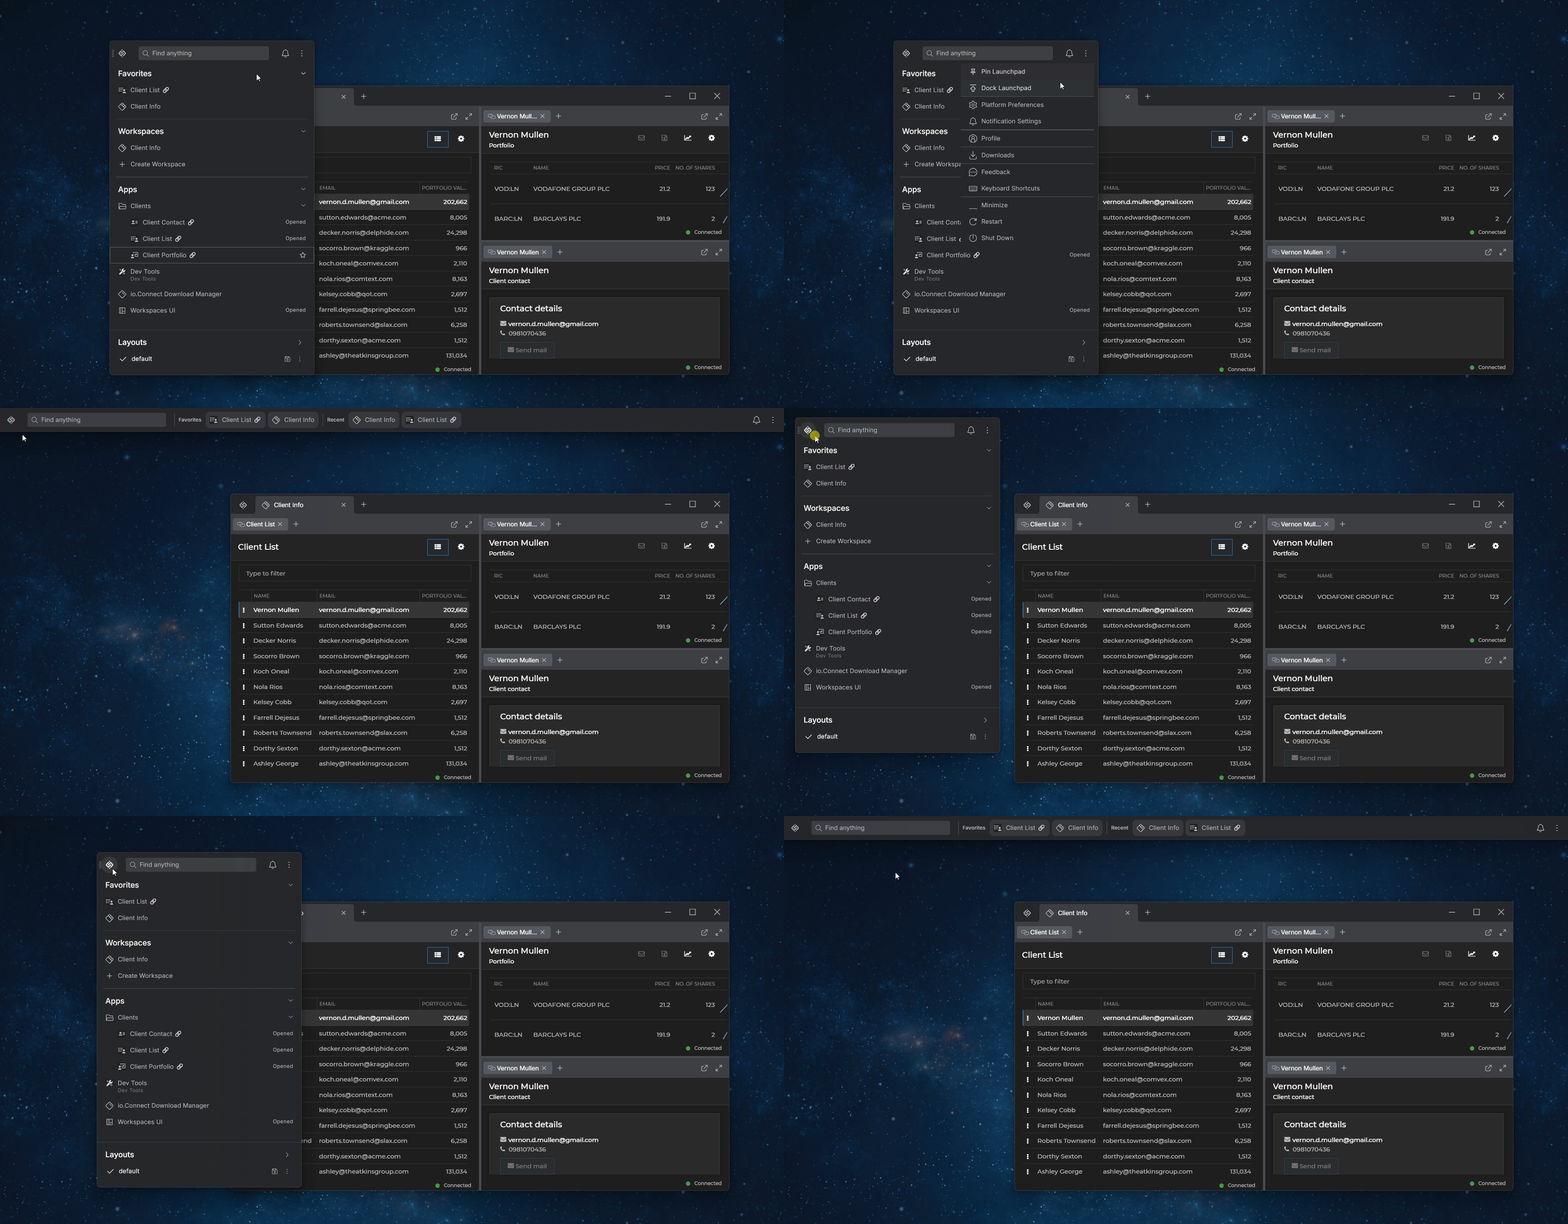
The Launchpad can be docked to the top of the screen for convenient access:

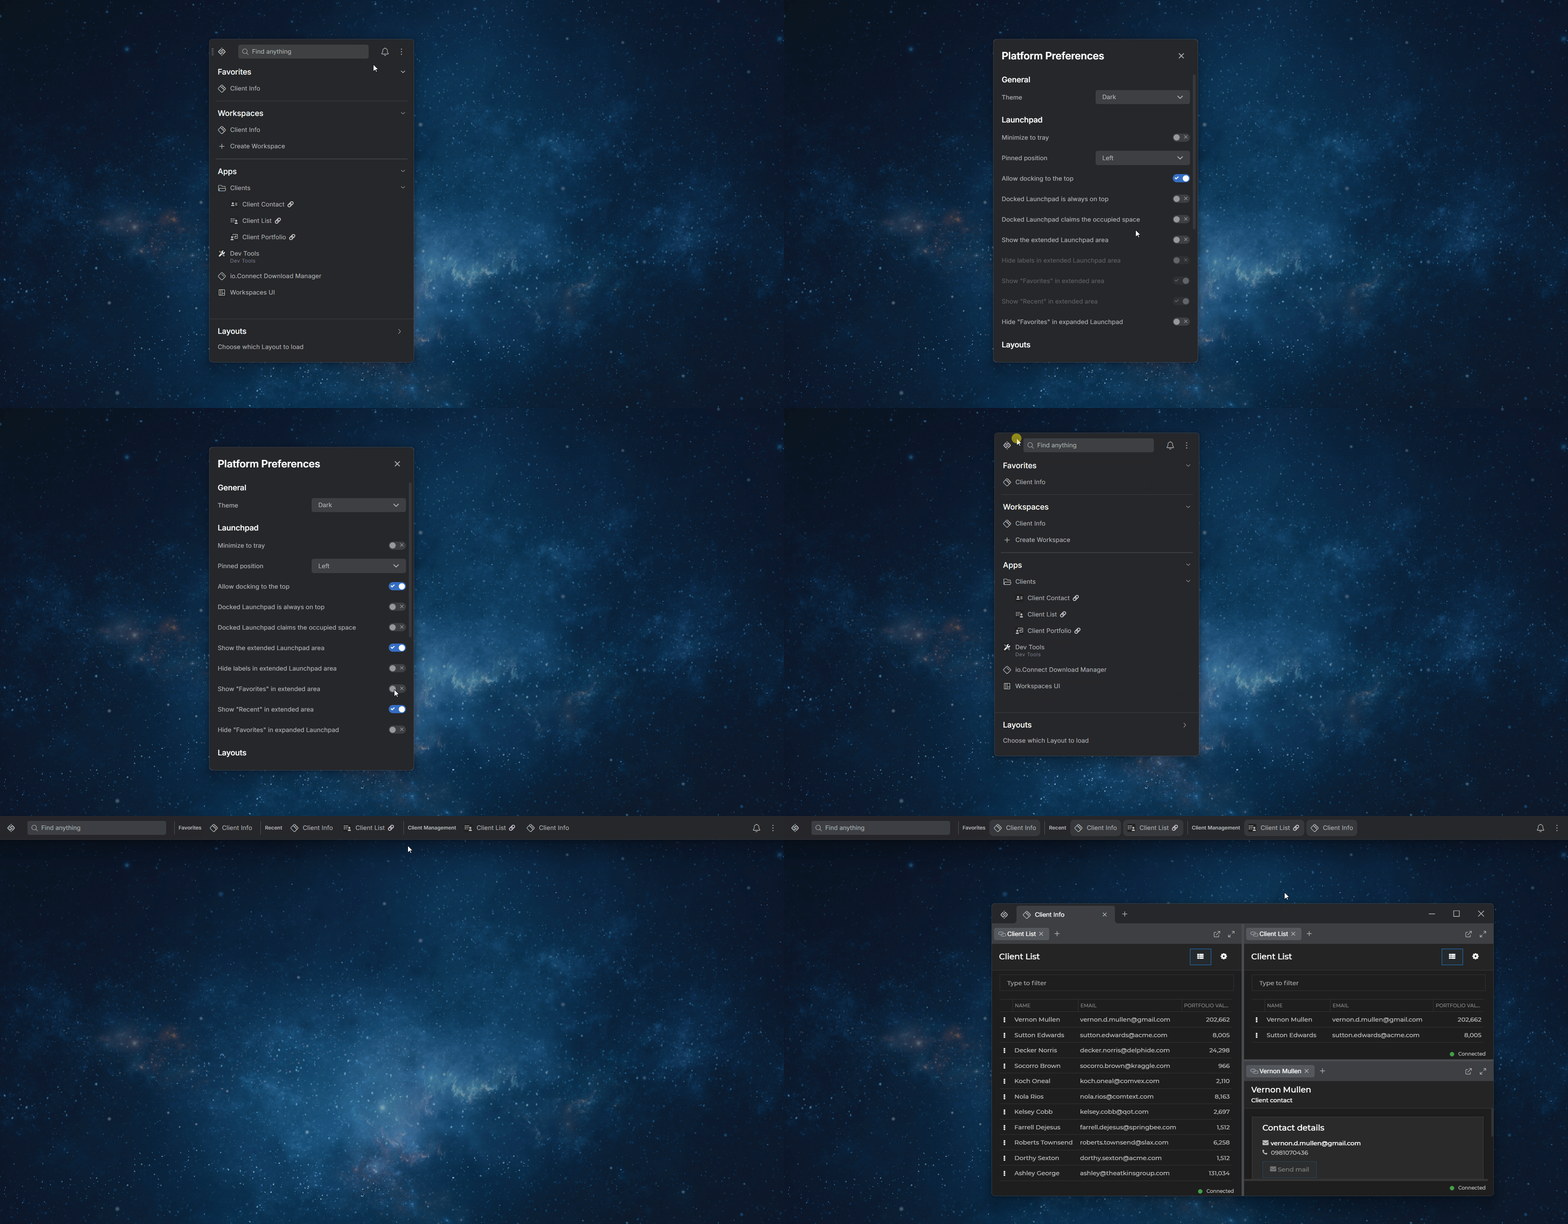
If you dock the Launchpad, you can utilize the extended area located between the search bar and the system icons. This area can show lists of favorite items, recent items, and you can also add custom categories in it. The extended area can be enabled and configured from the Platform Preferences panel in the Launchpad menu - it's possible to hide or show the "Favorites" and "Recent" section or to hide the item titles to save space:

Custom Launcher
The Launchpad is a web app that is available as a React Component on NPM as part of the @interopio/home-ui-react library. You can use the component in your own apps and also modify it to suit your specific business needs and requirements.
Configuration
Once you have implemented a launcher, you must host it, create an app definition file for it and add it to your app store.
⚠️ Note that if you are building a custom launcher based on the default Launchpad app, you can use the already existing
launchpad.jsontemplate definition located in the<installation_location>/config/appsfolder of io.Connect Desktop where the following properties have already been set accordingly. Only provide the URL to your custom Launchpad and skip to step 6.
- To instruct the platform that this is your shell app, set the
"shell"top-level key totrue:
{
    "shell": true
}- To make your launcher start automatically when the platform is initiated, also set the
"autoStart"top-level key totrue:
{
    "shell": true,
    "autoStart": true
}- To prevent the launcher from displaying itself in the list of available apps, set the
"hidden"top-level key totrue:
{
    "shell": true,
    "autoStart": true,
    "hidden": true
}- If you don't want the users to be able to start more than one instance of your launcher, set the
"allowMultiple"top-level key tofalse:
{
    "shell": true,
    "autoStart": true,
    "hidden": true,
    "allowMultiple": false
}- Use the
"url"property of the"details"top-level key to provide the location of your custom launcher and also set the other required properties -"name"and"type":
{
    "name": "my-launcher",
    "type": "window",
    "shell": true,
    "autoStart": true,
    "hidden": true,
    "allowMultiple": false,
    "details": {
        "url": "./my-custom-launcher/index.html"
    }
}- Finally, to disable the default io.Connect Desktop launcher, set the
"useEmbeddedShell"top-level key in thesystem.jsonsystem configuration file of io.Connect Desktop tofalse:
{
    "useEmbeddedShell": false
}- Restart io.Connect Desktop for the changes to take effect and start using your custom launcher.
Extended Area Custom Categories
Available since io.Connect Desktop 10.0
To add custom categories to the extended area of the Launchpad that is available when the Launchpad is docked, use the "extendedAreaCategories" property of the "customProperties" top-level key in the Launchpad app definition:
{
    "customProperties": {
        "extendedAreaCategories": [
            {
                "name": "Client Management",
                "items": [
                    {
                        "name": "channelsclientlist",
                        "type": "application"
                    },
                    {
                        "name": "Client Info",
                        "type": "workspace"
                    }
                ]
            }
        ]
    }
}
Each object in the "extendedAreaCategories" array has the following properties:
| Property | Type | Description |
|---|---|---|
"name" |
string |
Required. Name for the category to be displayed in the Launchpad extended area. |
"items" |
object[] |
Required. Array of objects describing the items (apps and Workspaces) to be displayed in the specified category. |
Each object in the "items" array has the following properties:
| Property | Type | Description |
|---|---|---|
"name" |
string |
Required. The name of an app as specified in its app definition, or the name of a Workspace to be displayed in the category list. |
"type" |
"application" | "workspace" |
Required. The type of the item to be displayed in the category list - an app or a Workspace. |
Styles
Available since io.Connect Desktop 9.9
To customize the io.Connect Launchpad styles, use the CSS variables provided by the io.Connect themes.
